| Location | Lab or Class room |
| Tool Type | Educational |
| Safety Concerns | May run into things |
| Owner | ArchReactor |
| Maintenance | Lead Acid Battery Maintenance |
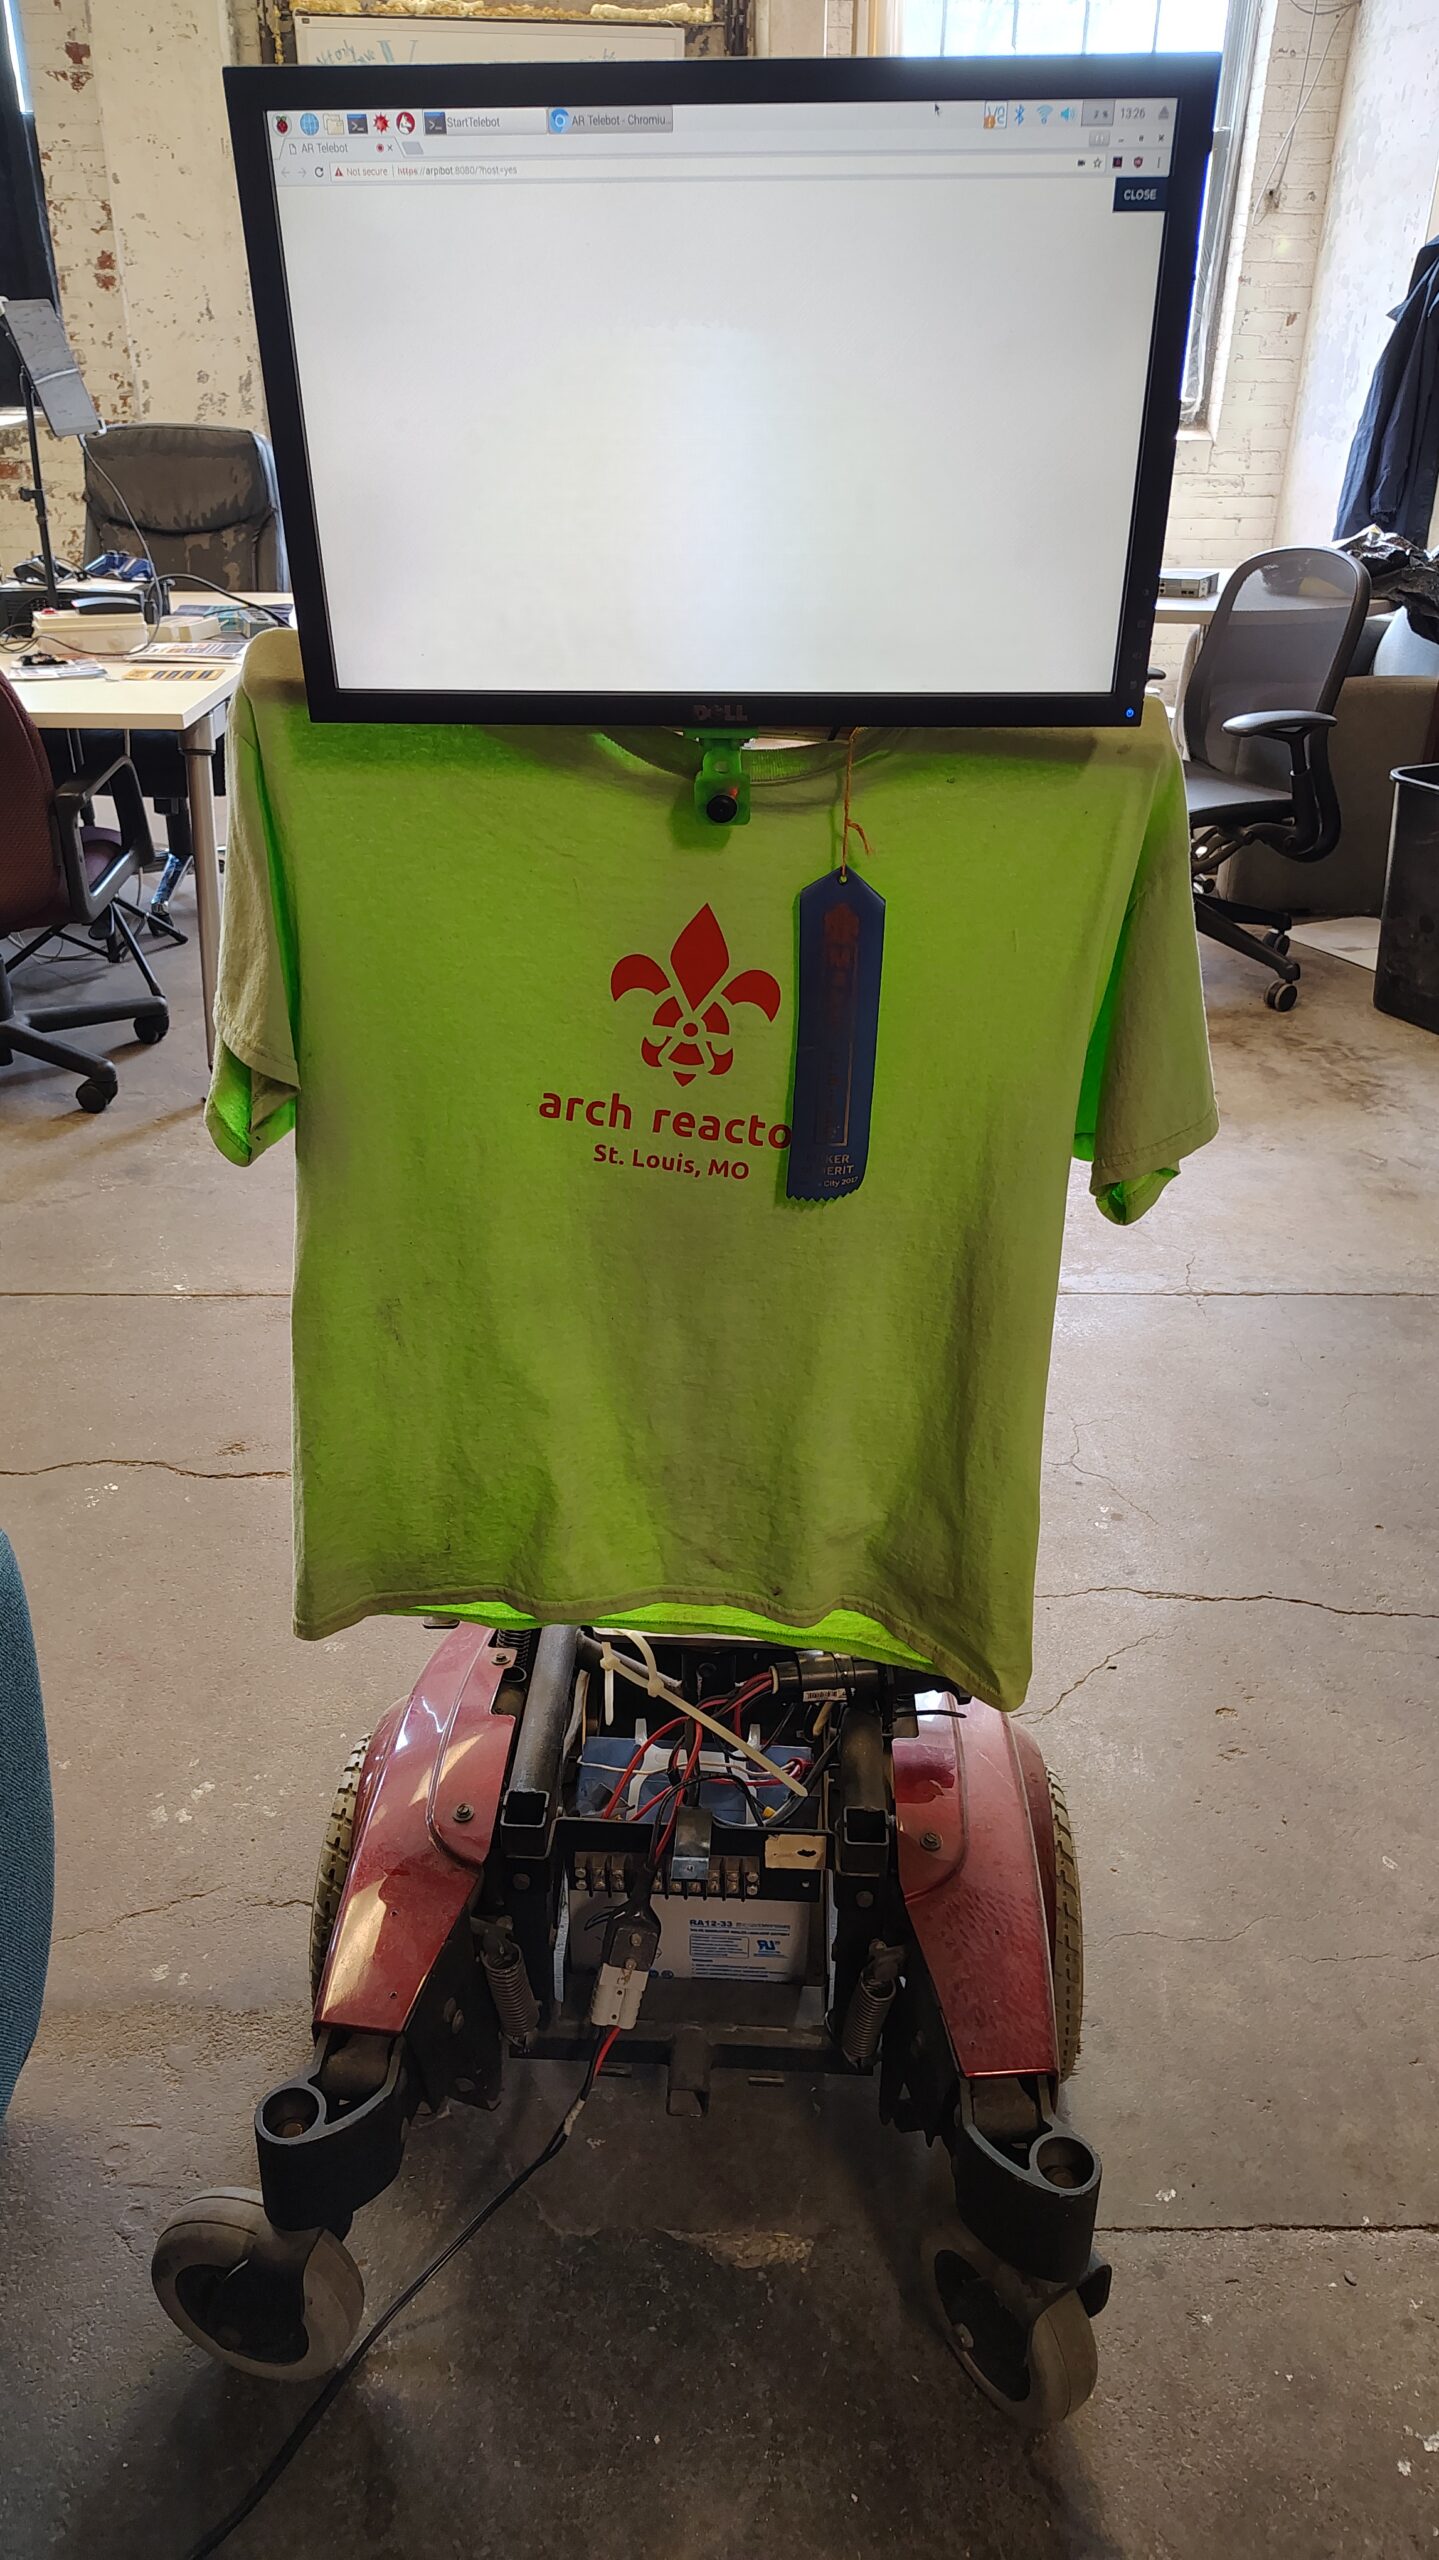
Tool Description
Open Source Telepresence bot made from commonly available parts. The base is a power wheelchair, the controller is a RaspberryPi3 with a Sabertooth motor controller, and the rest is readily available hardware.
Learning to Use It
Plug the big round connector(see photos) on the pole into the socket on the base and the Pi will power on, turn on the inverter(see photos) to power the monitor. (if you have a source for a low cost 12V monitor let us know).
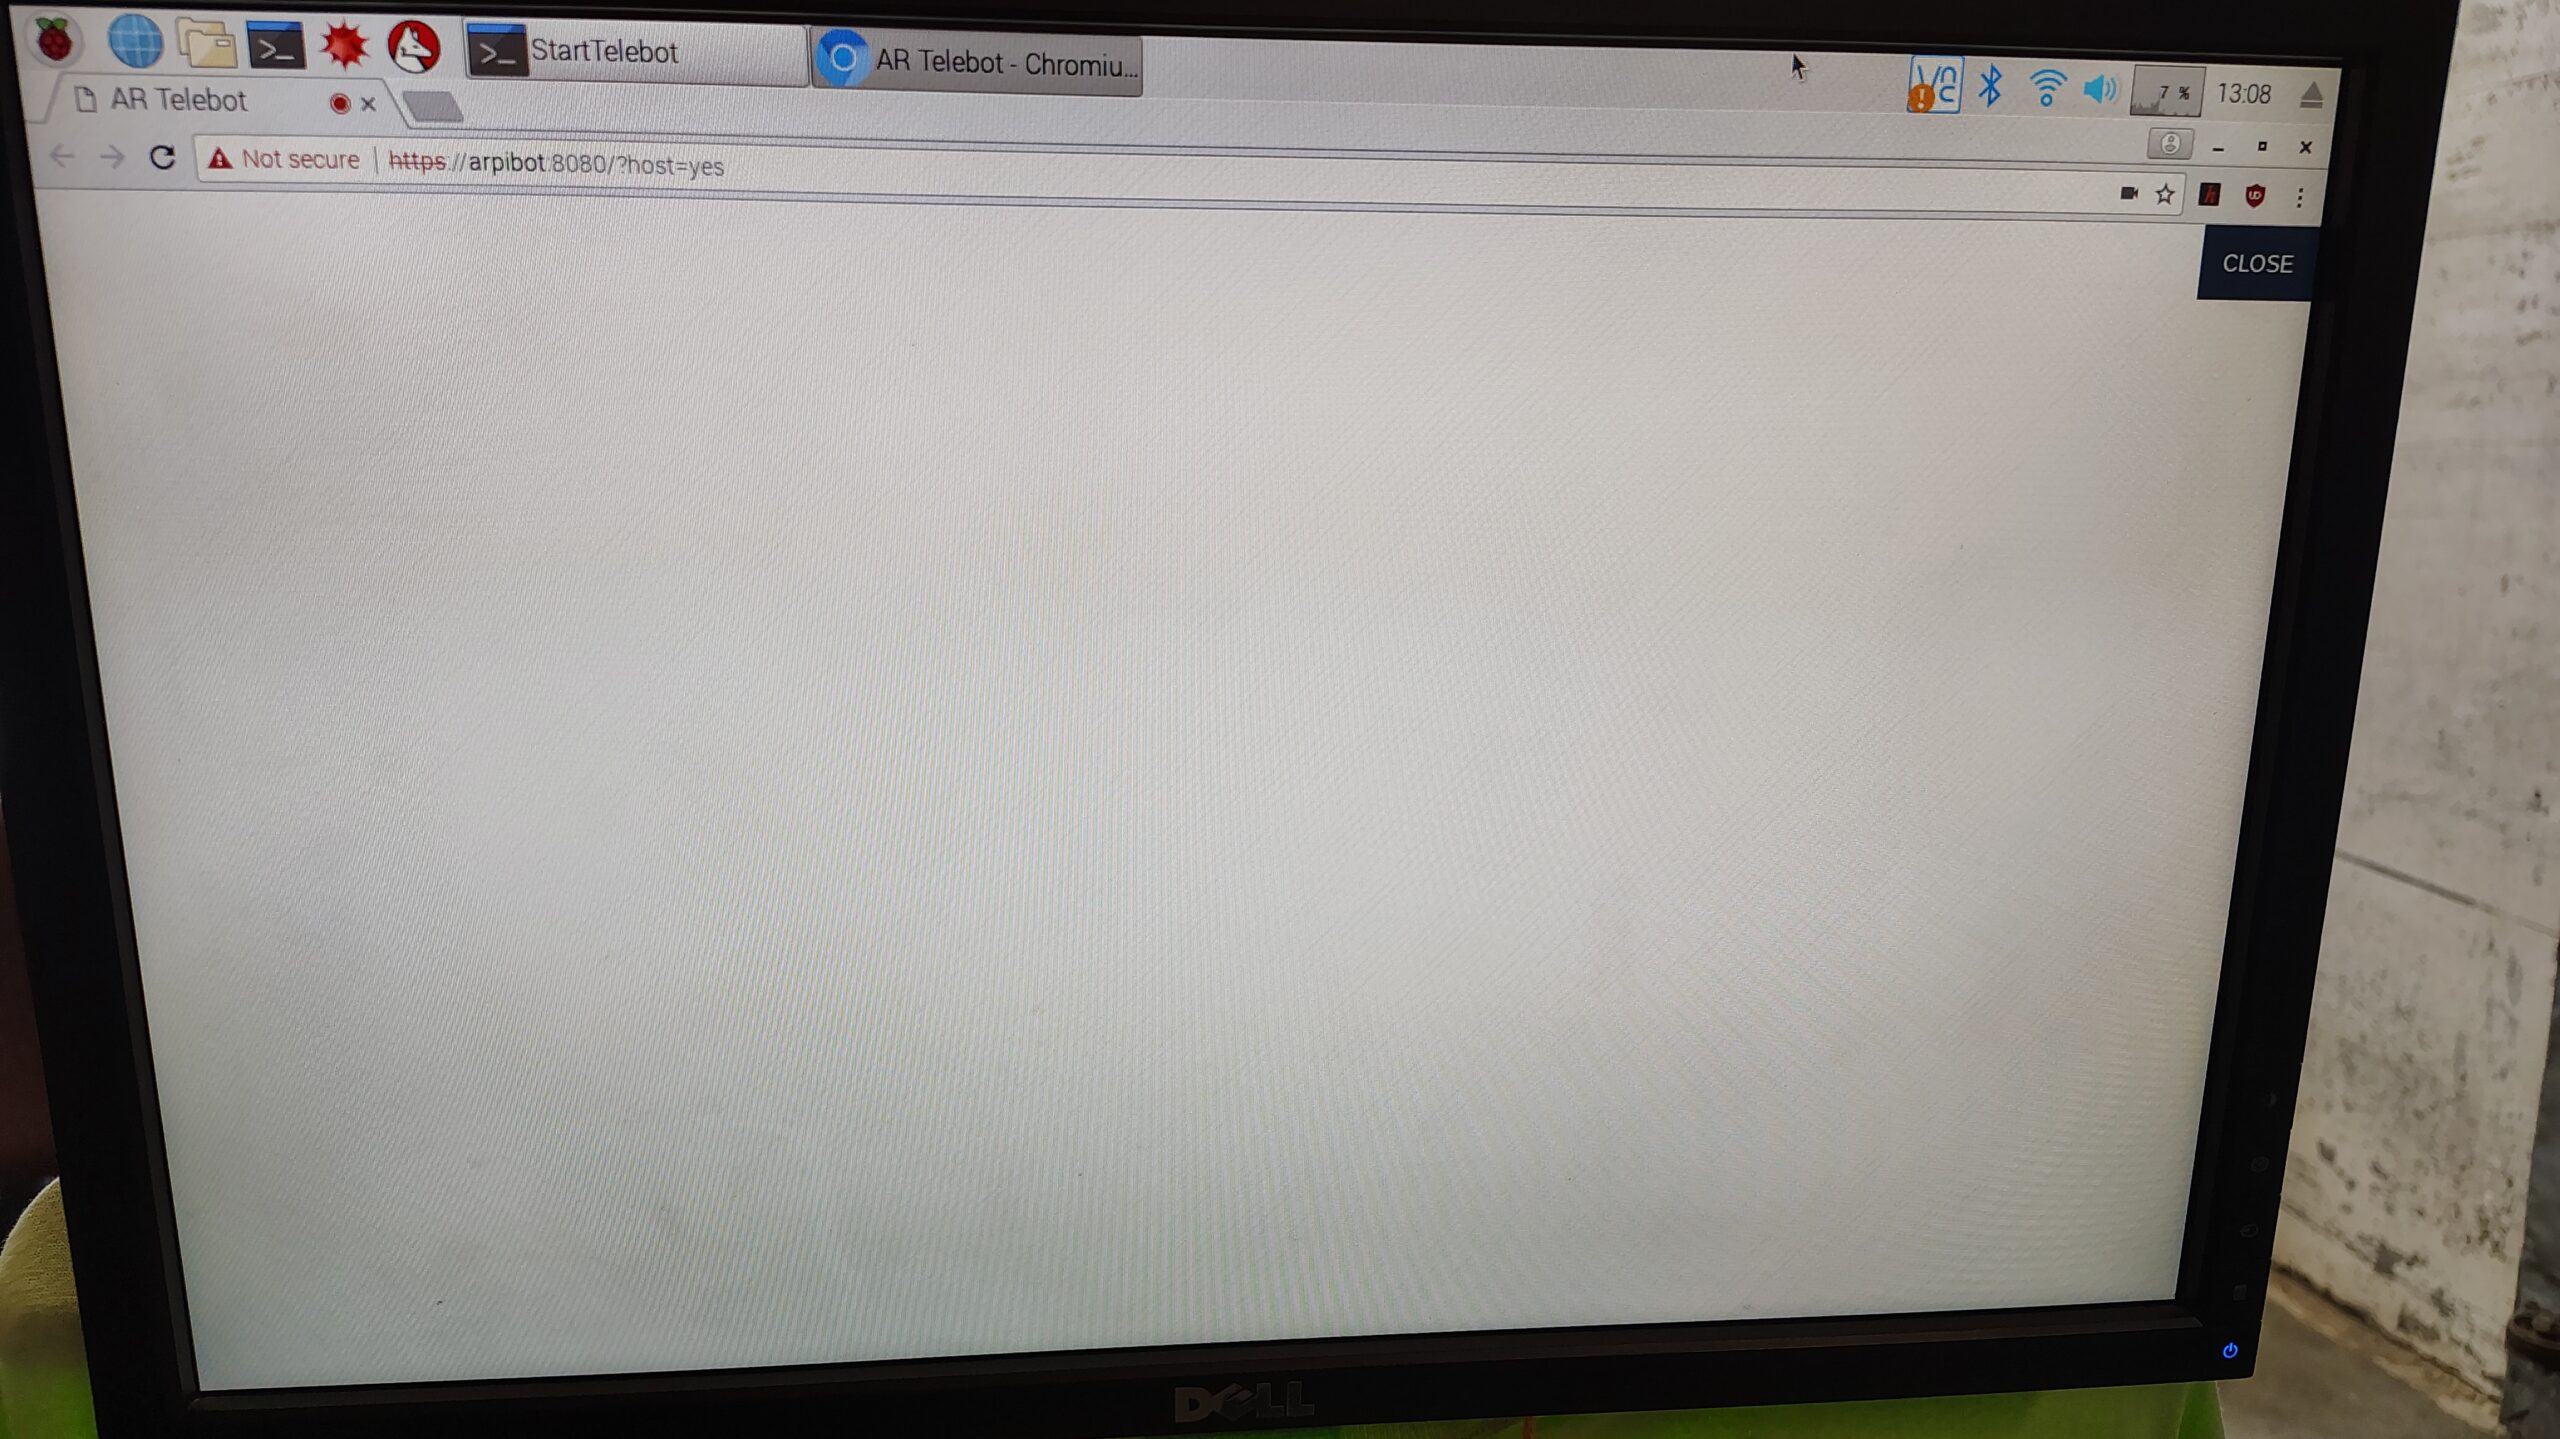
Once booted, use the normal network setting in the upper right of the screen to make sure you are on a WiFi network, and use the VNC icon(see photos) to find the IP address if you aren’t sure that DNS will work. There’s a StartTelebot(see photos) on the desktop, double click it to start the bot system, when prompted answer “Execute in Terminal”(see photos), then a terminal will open, some warnings are normal, then a browser window will open. Since the HTTPS is required and the bot is not online a self-signed certificate is used, which triggers a browser saftey warning. Allow the “unsafe” certificate(see photos). The page will load and will appear mostly blank(see photos).
Connect a phone, tablet, or touchscreen laptop to the same WiFi and go to the URL shown in the bot’s browser window, leave off the “?host=yes”, and approve the “unsafe” certificate again. You will need to allow audio and video permissions. You should now have 2-way video between your device and the bot, with a “joystick” circle on the screen. Drag the center dot around to drive the bot. If the Kill Switch is in the off position it will not move. If the motor disconnect levers are in the disengage position you will hear the motors but it will not move.
When operating near a crowd, be ready to flip the Kill Switch. If the wifi lags the bot can move for a few seconds in whatever direction and speed was requested last. There are no safeties built in, you must remain in control of it.
Source code https://github.com/ArchReactor/pi-telepresence
Ready! 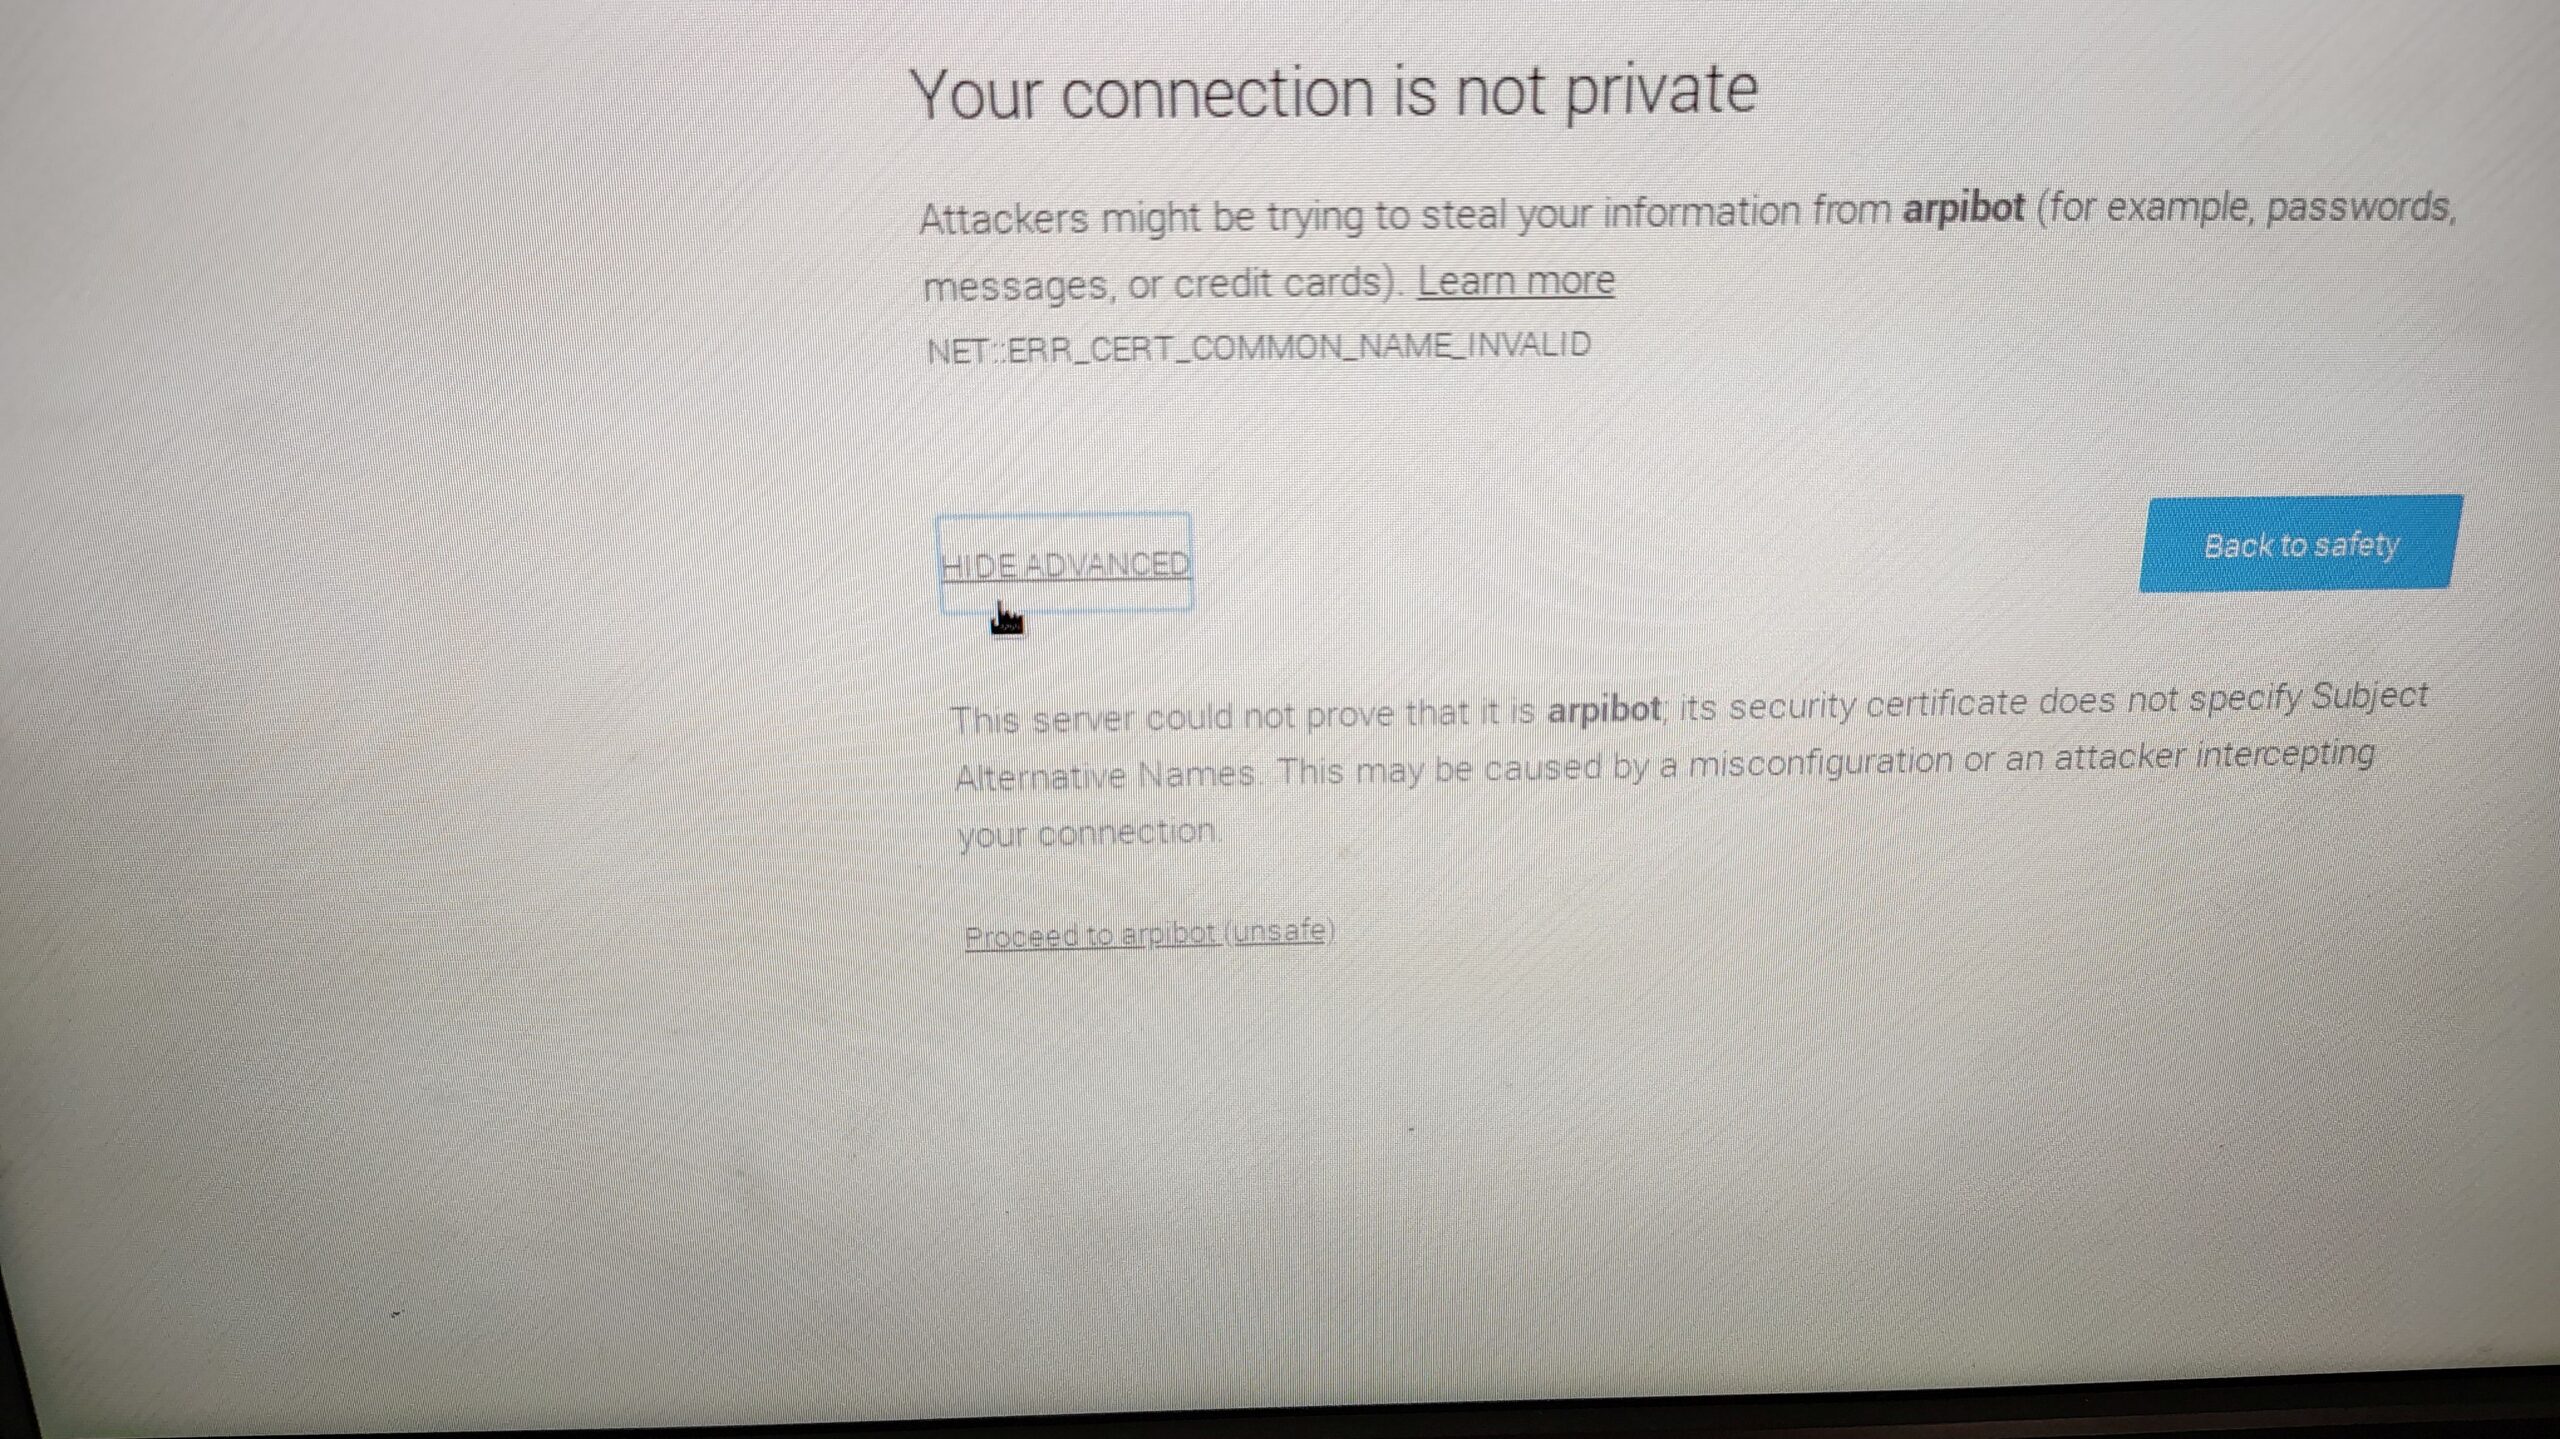
Allow unsigned SSL certificate 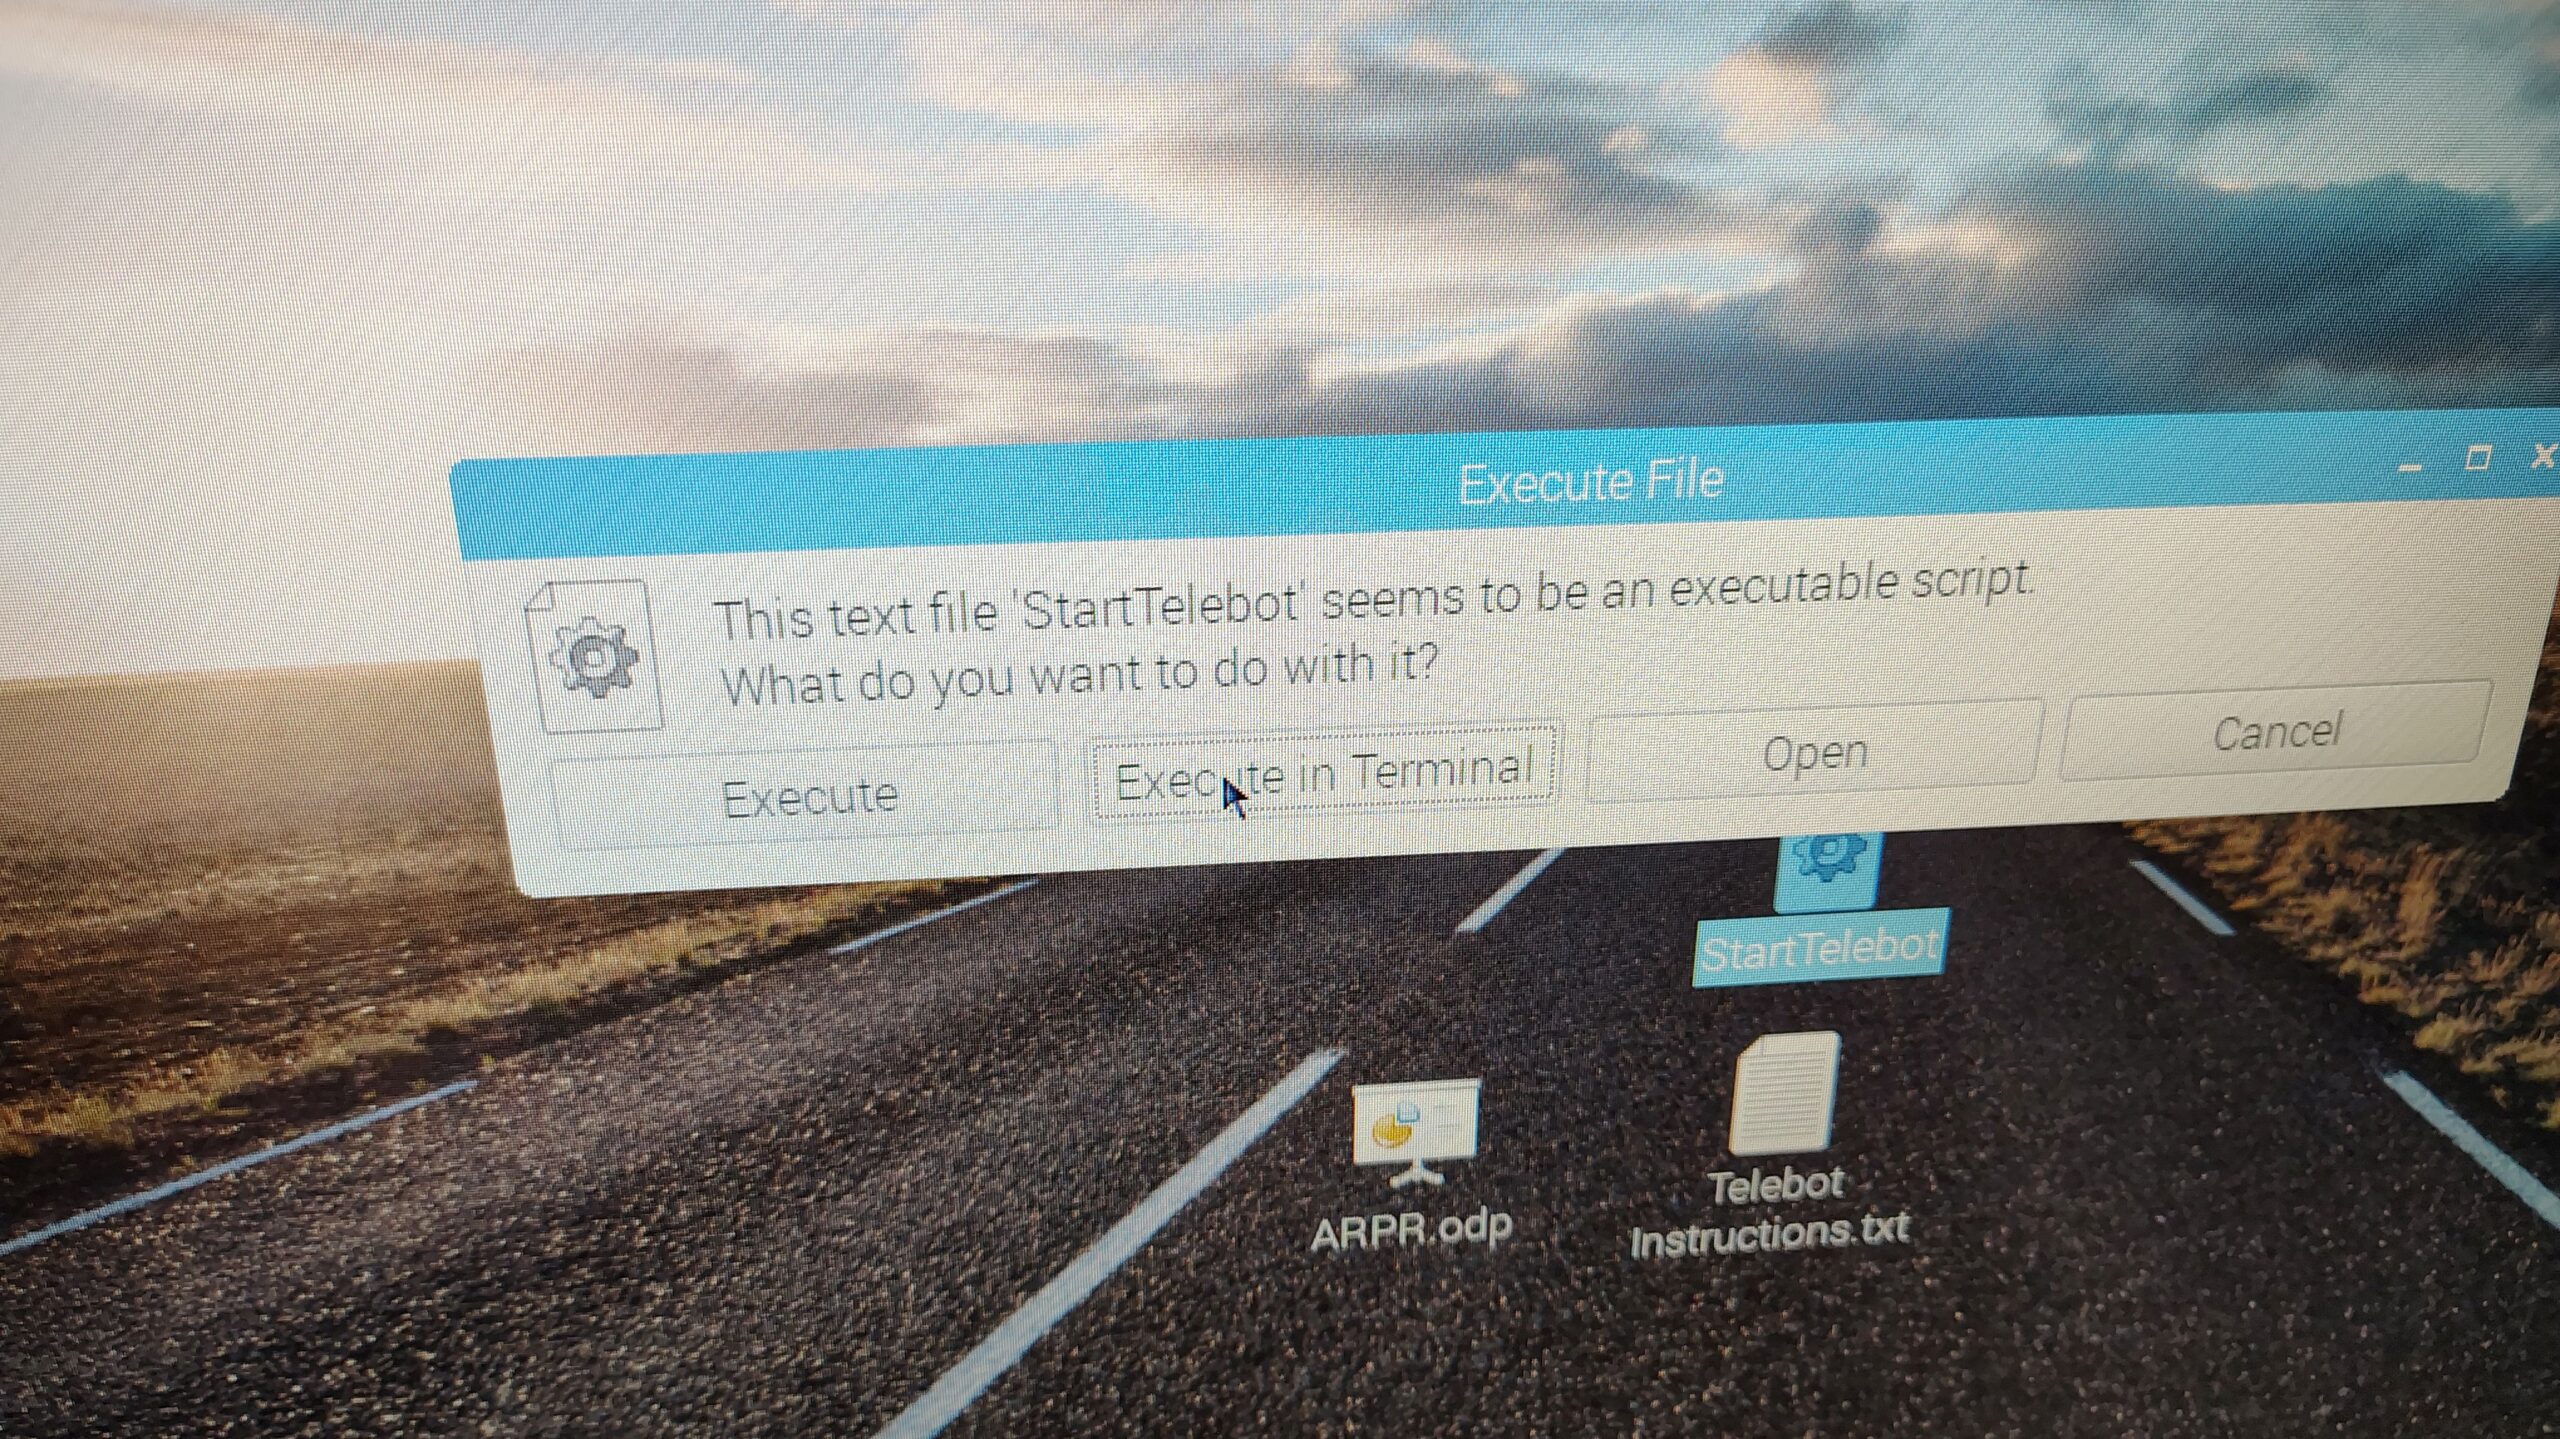
Run service 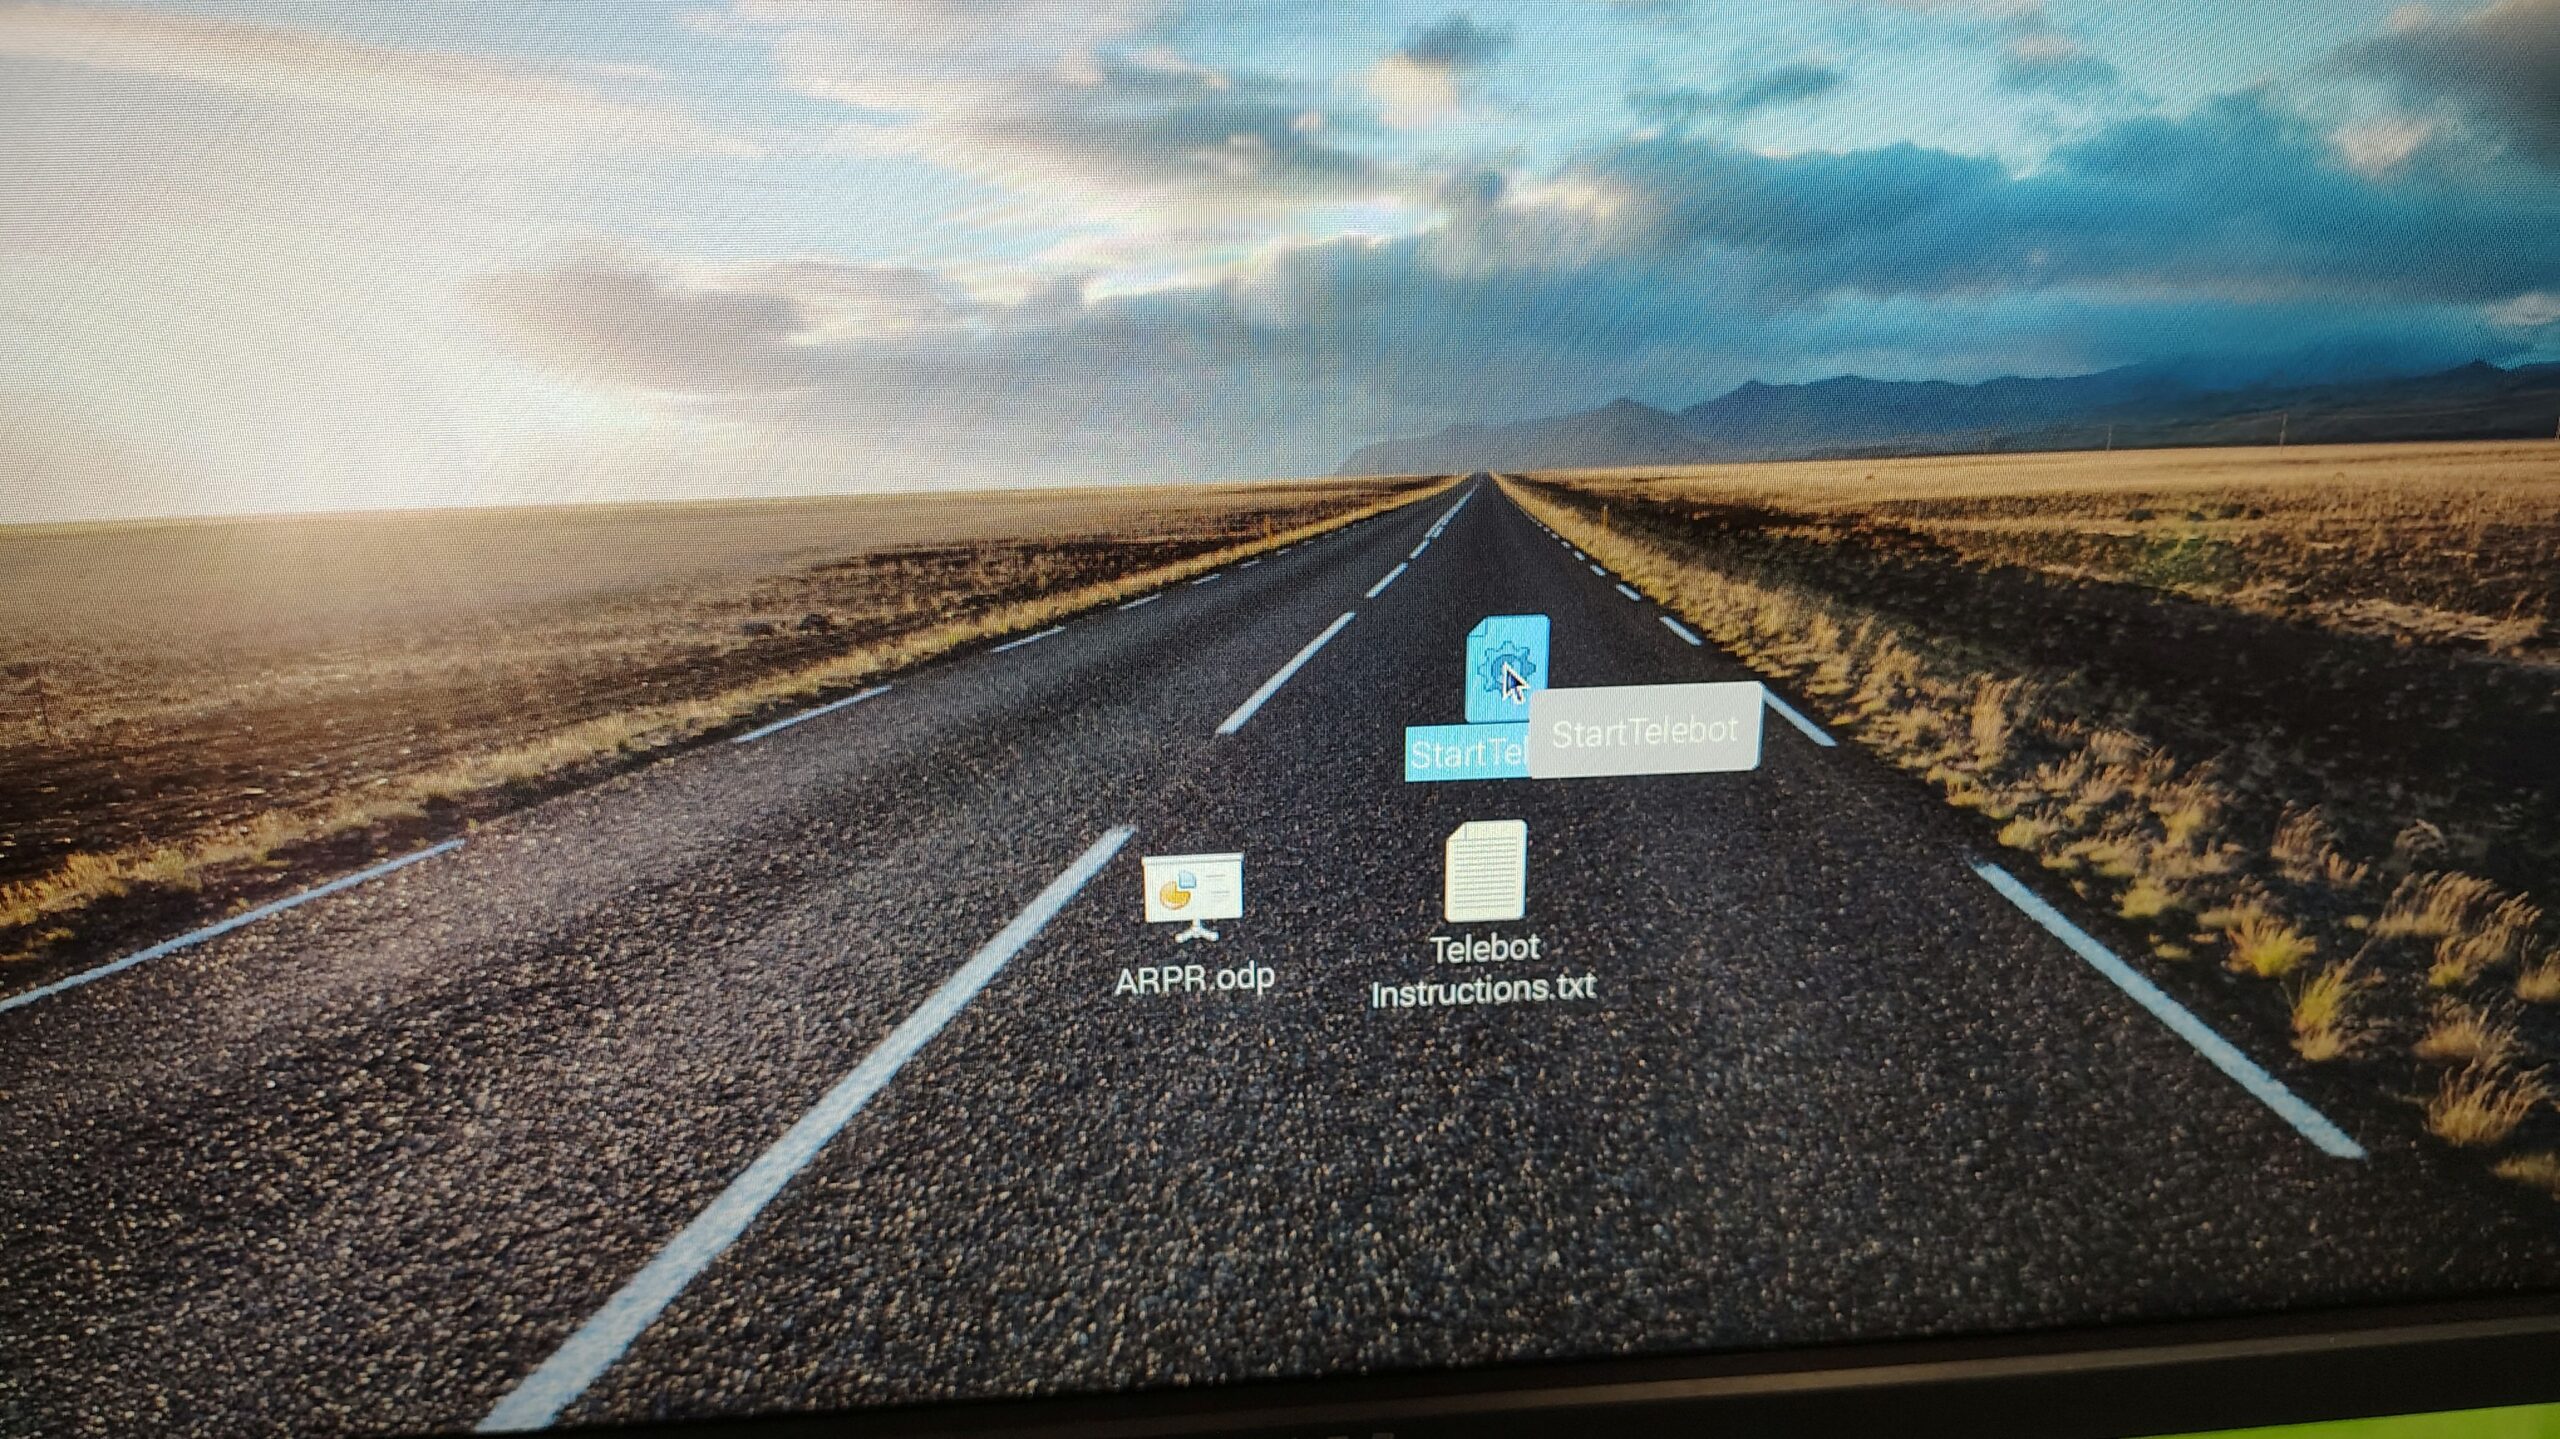
Start bot server 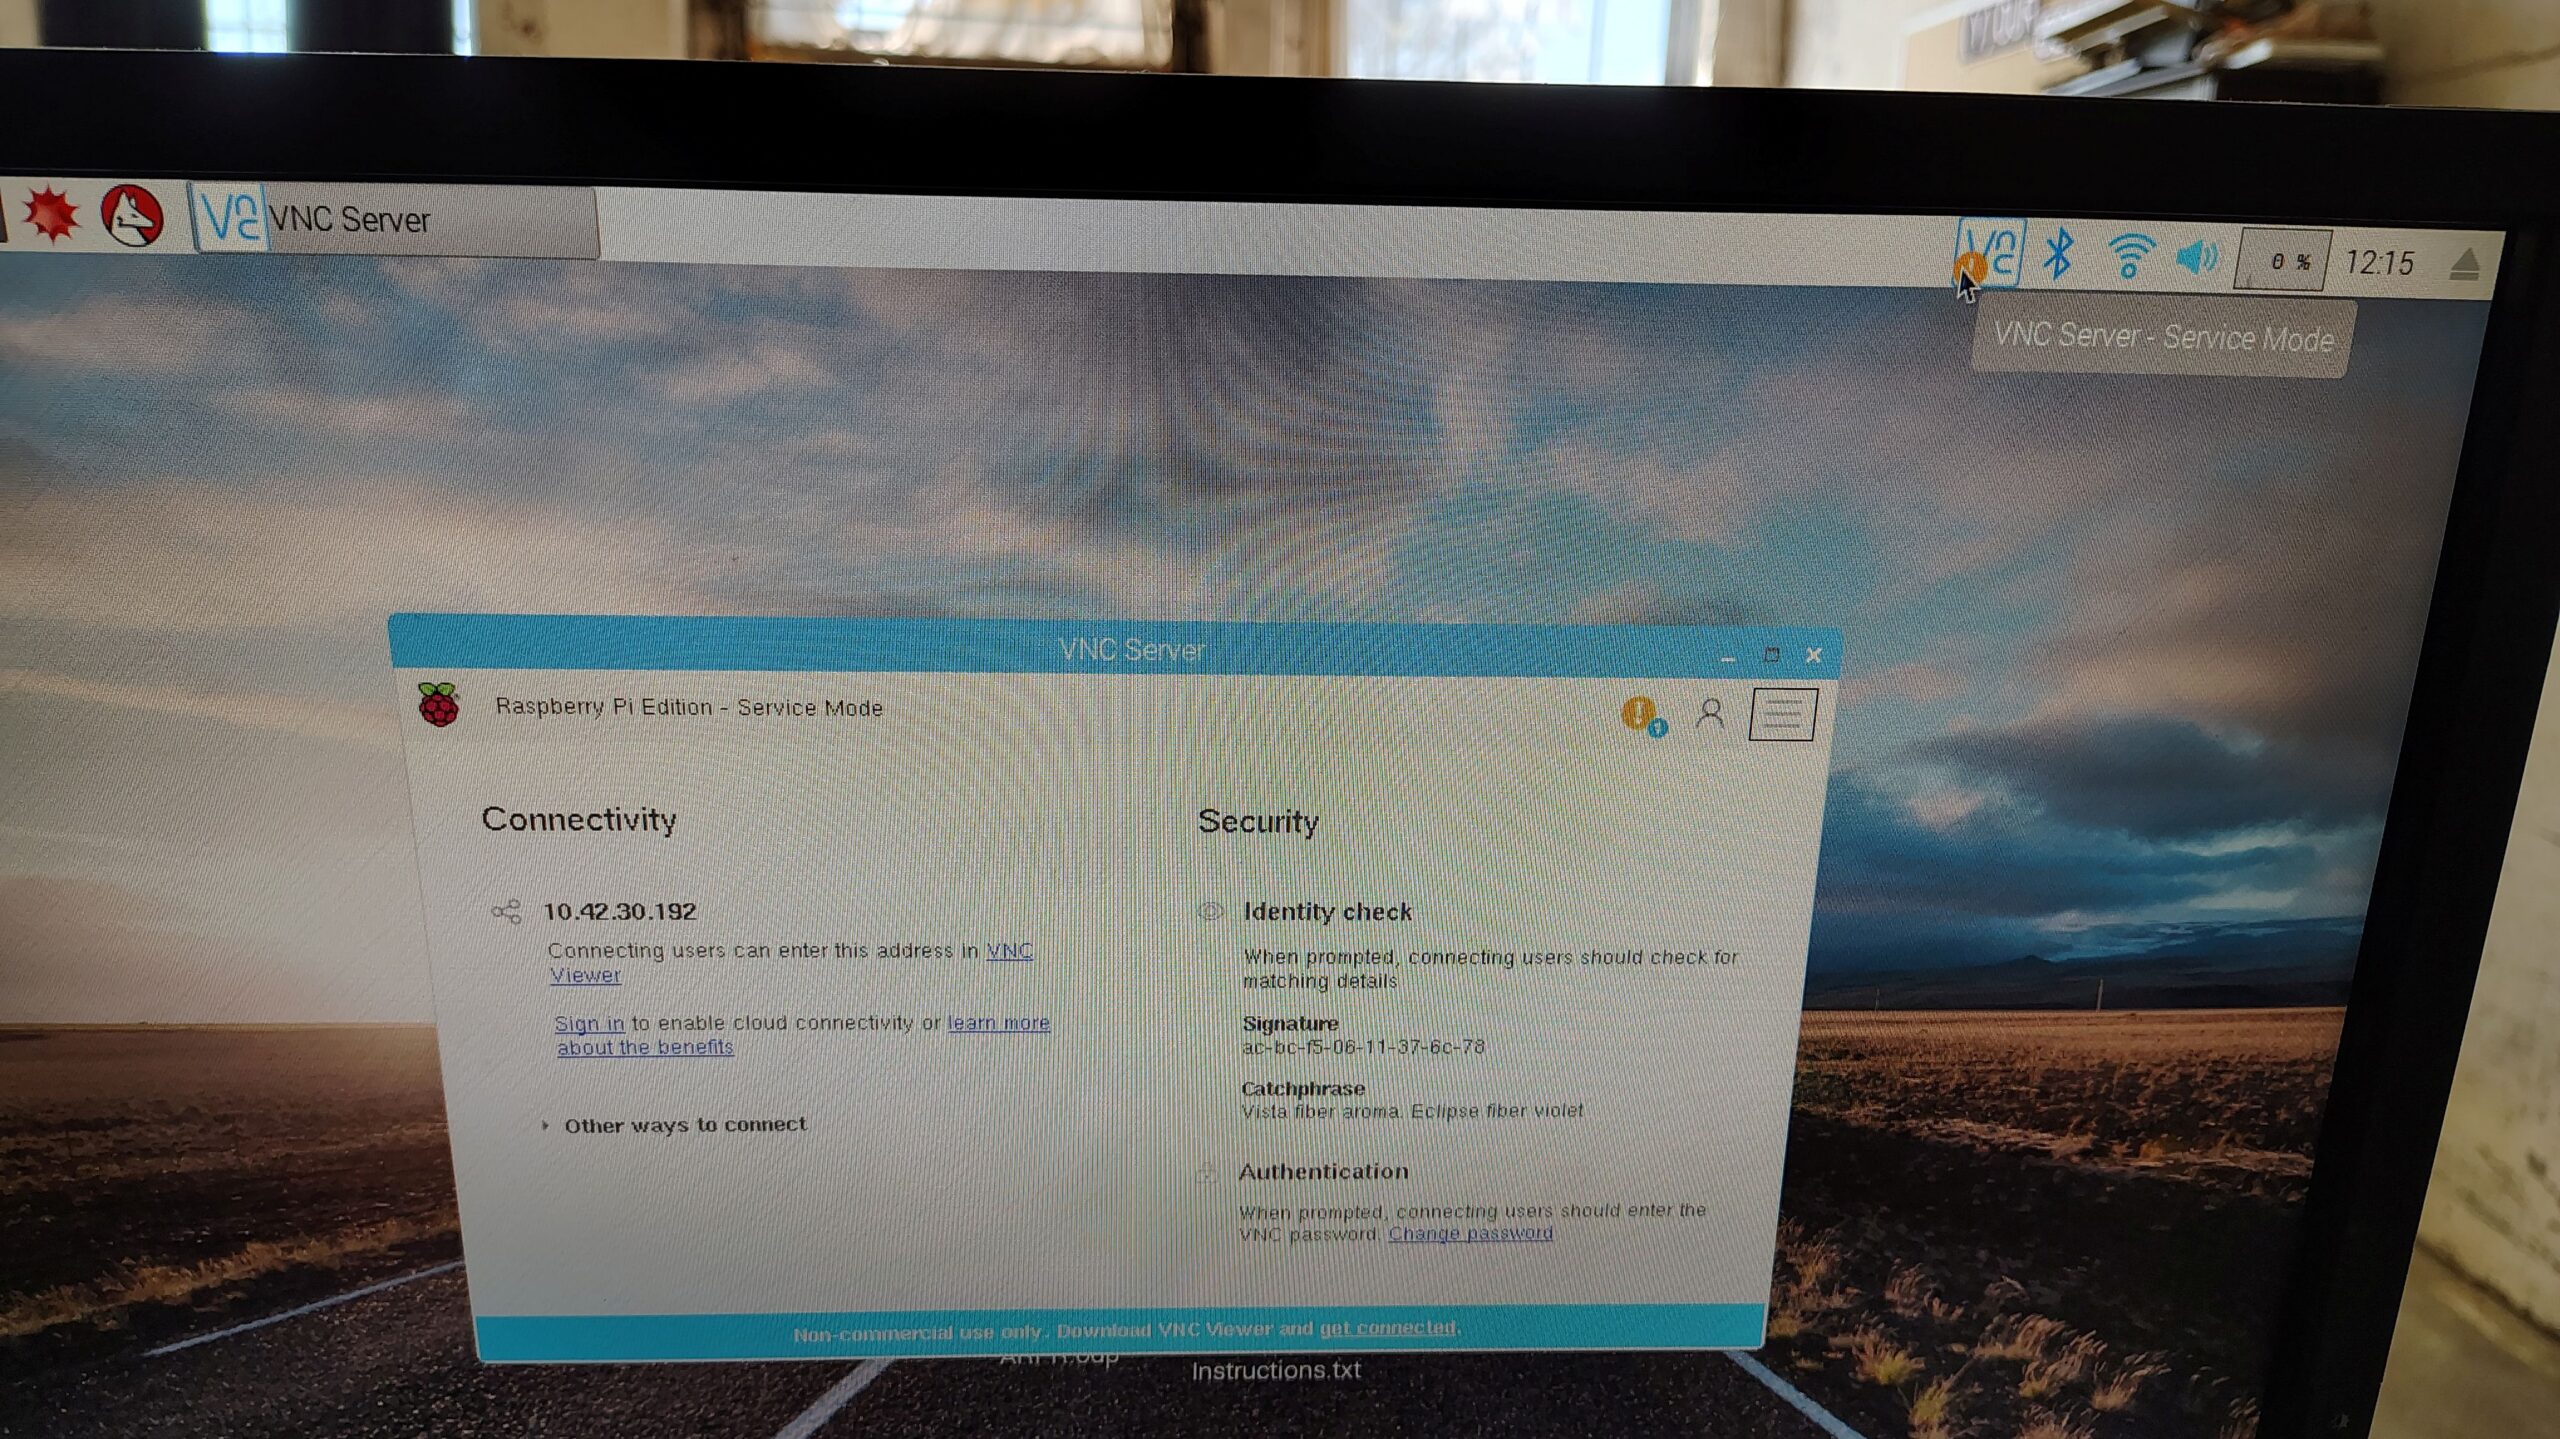
VNC/IP address information 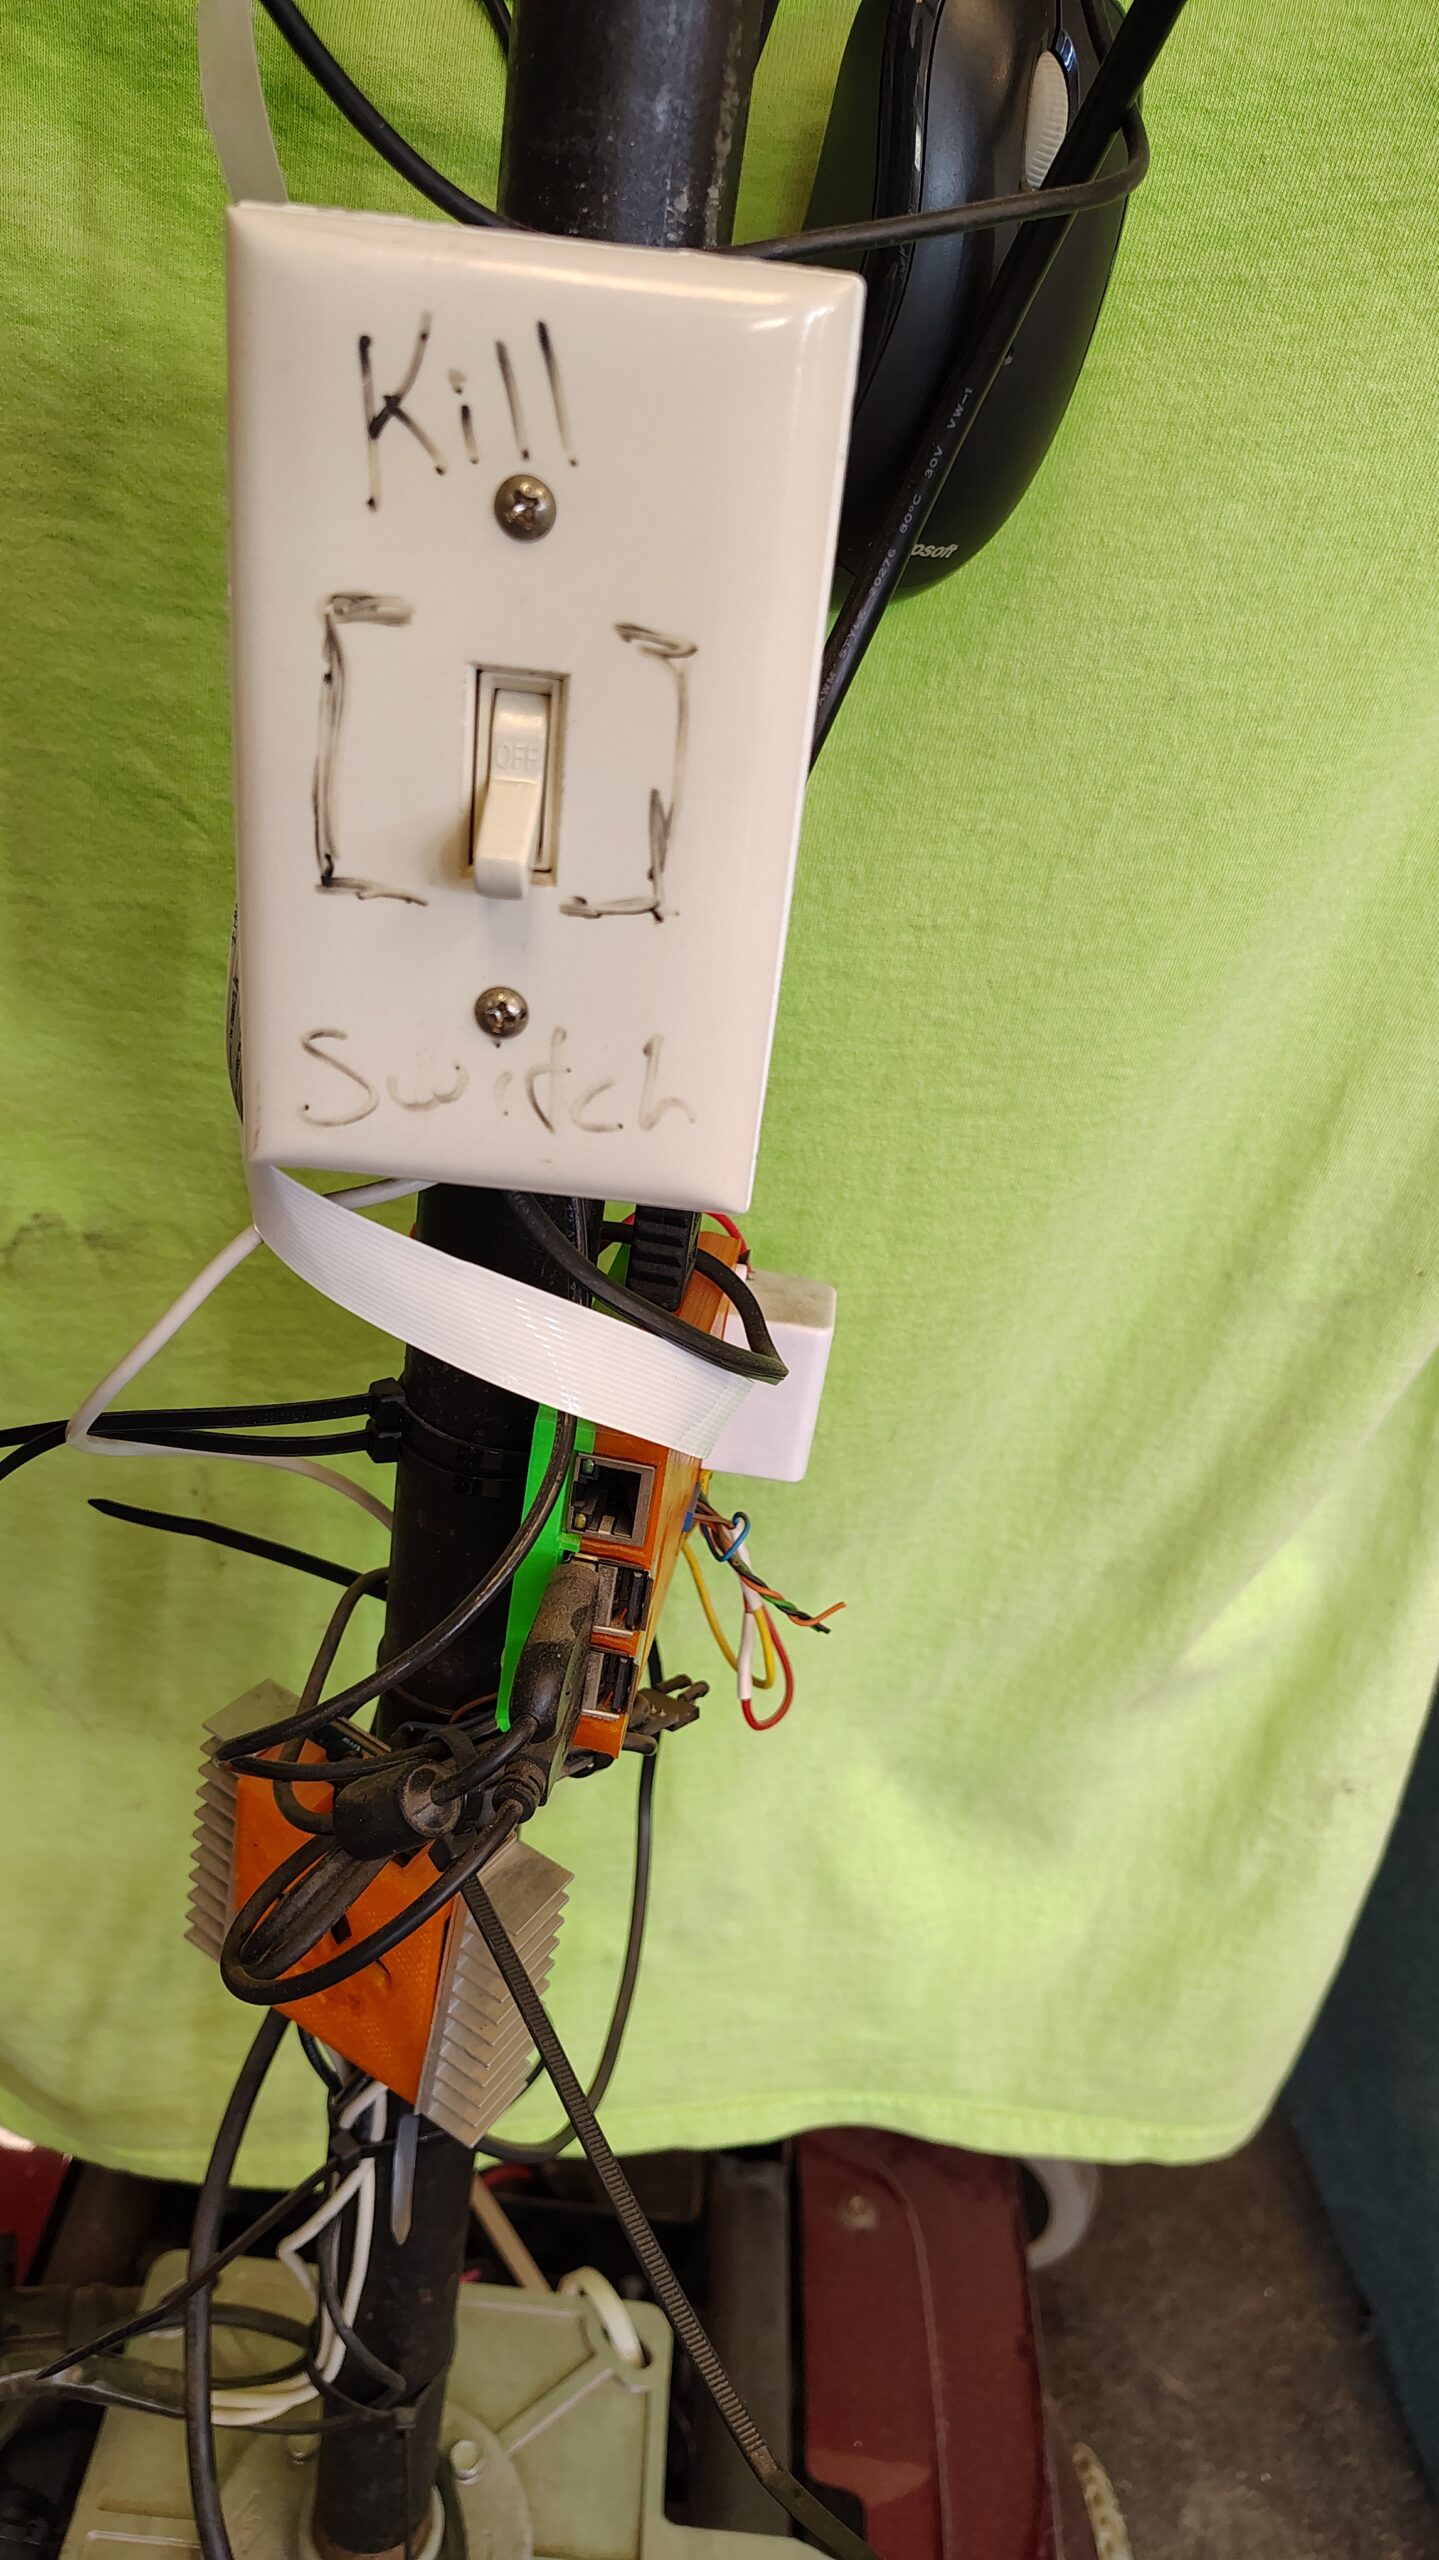
Bot motor power switch 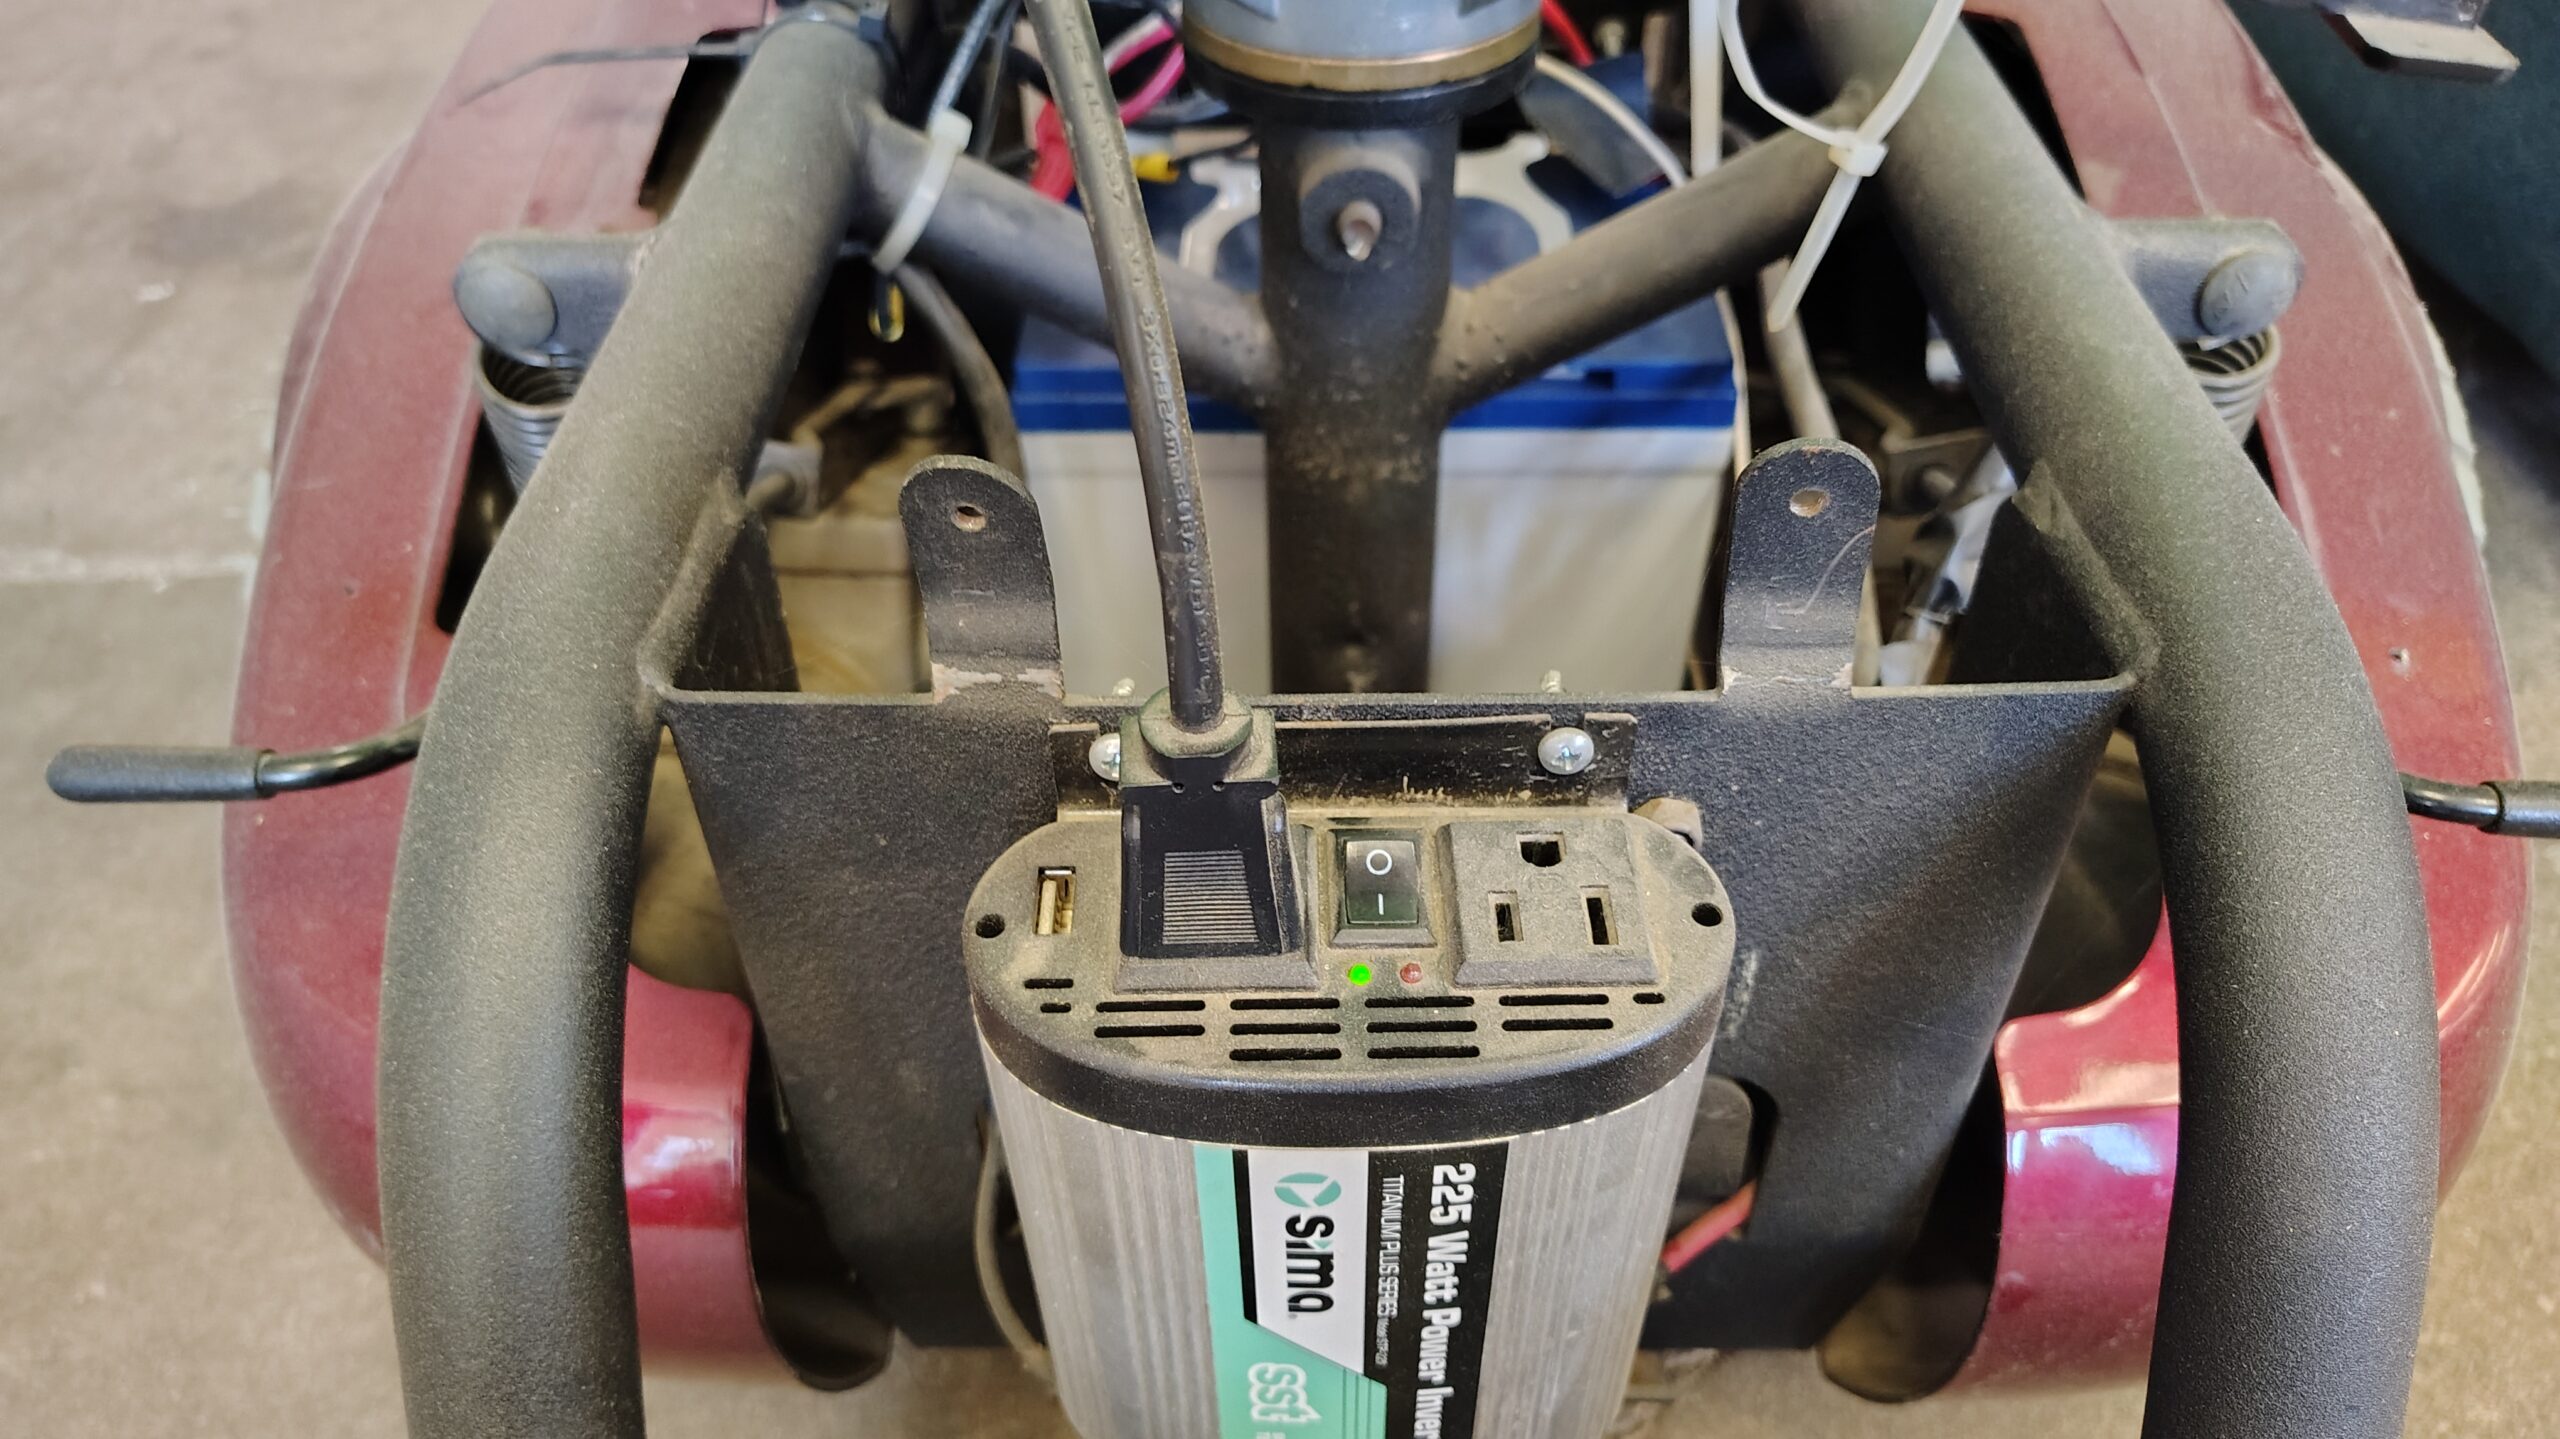
120V power 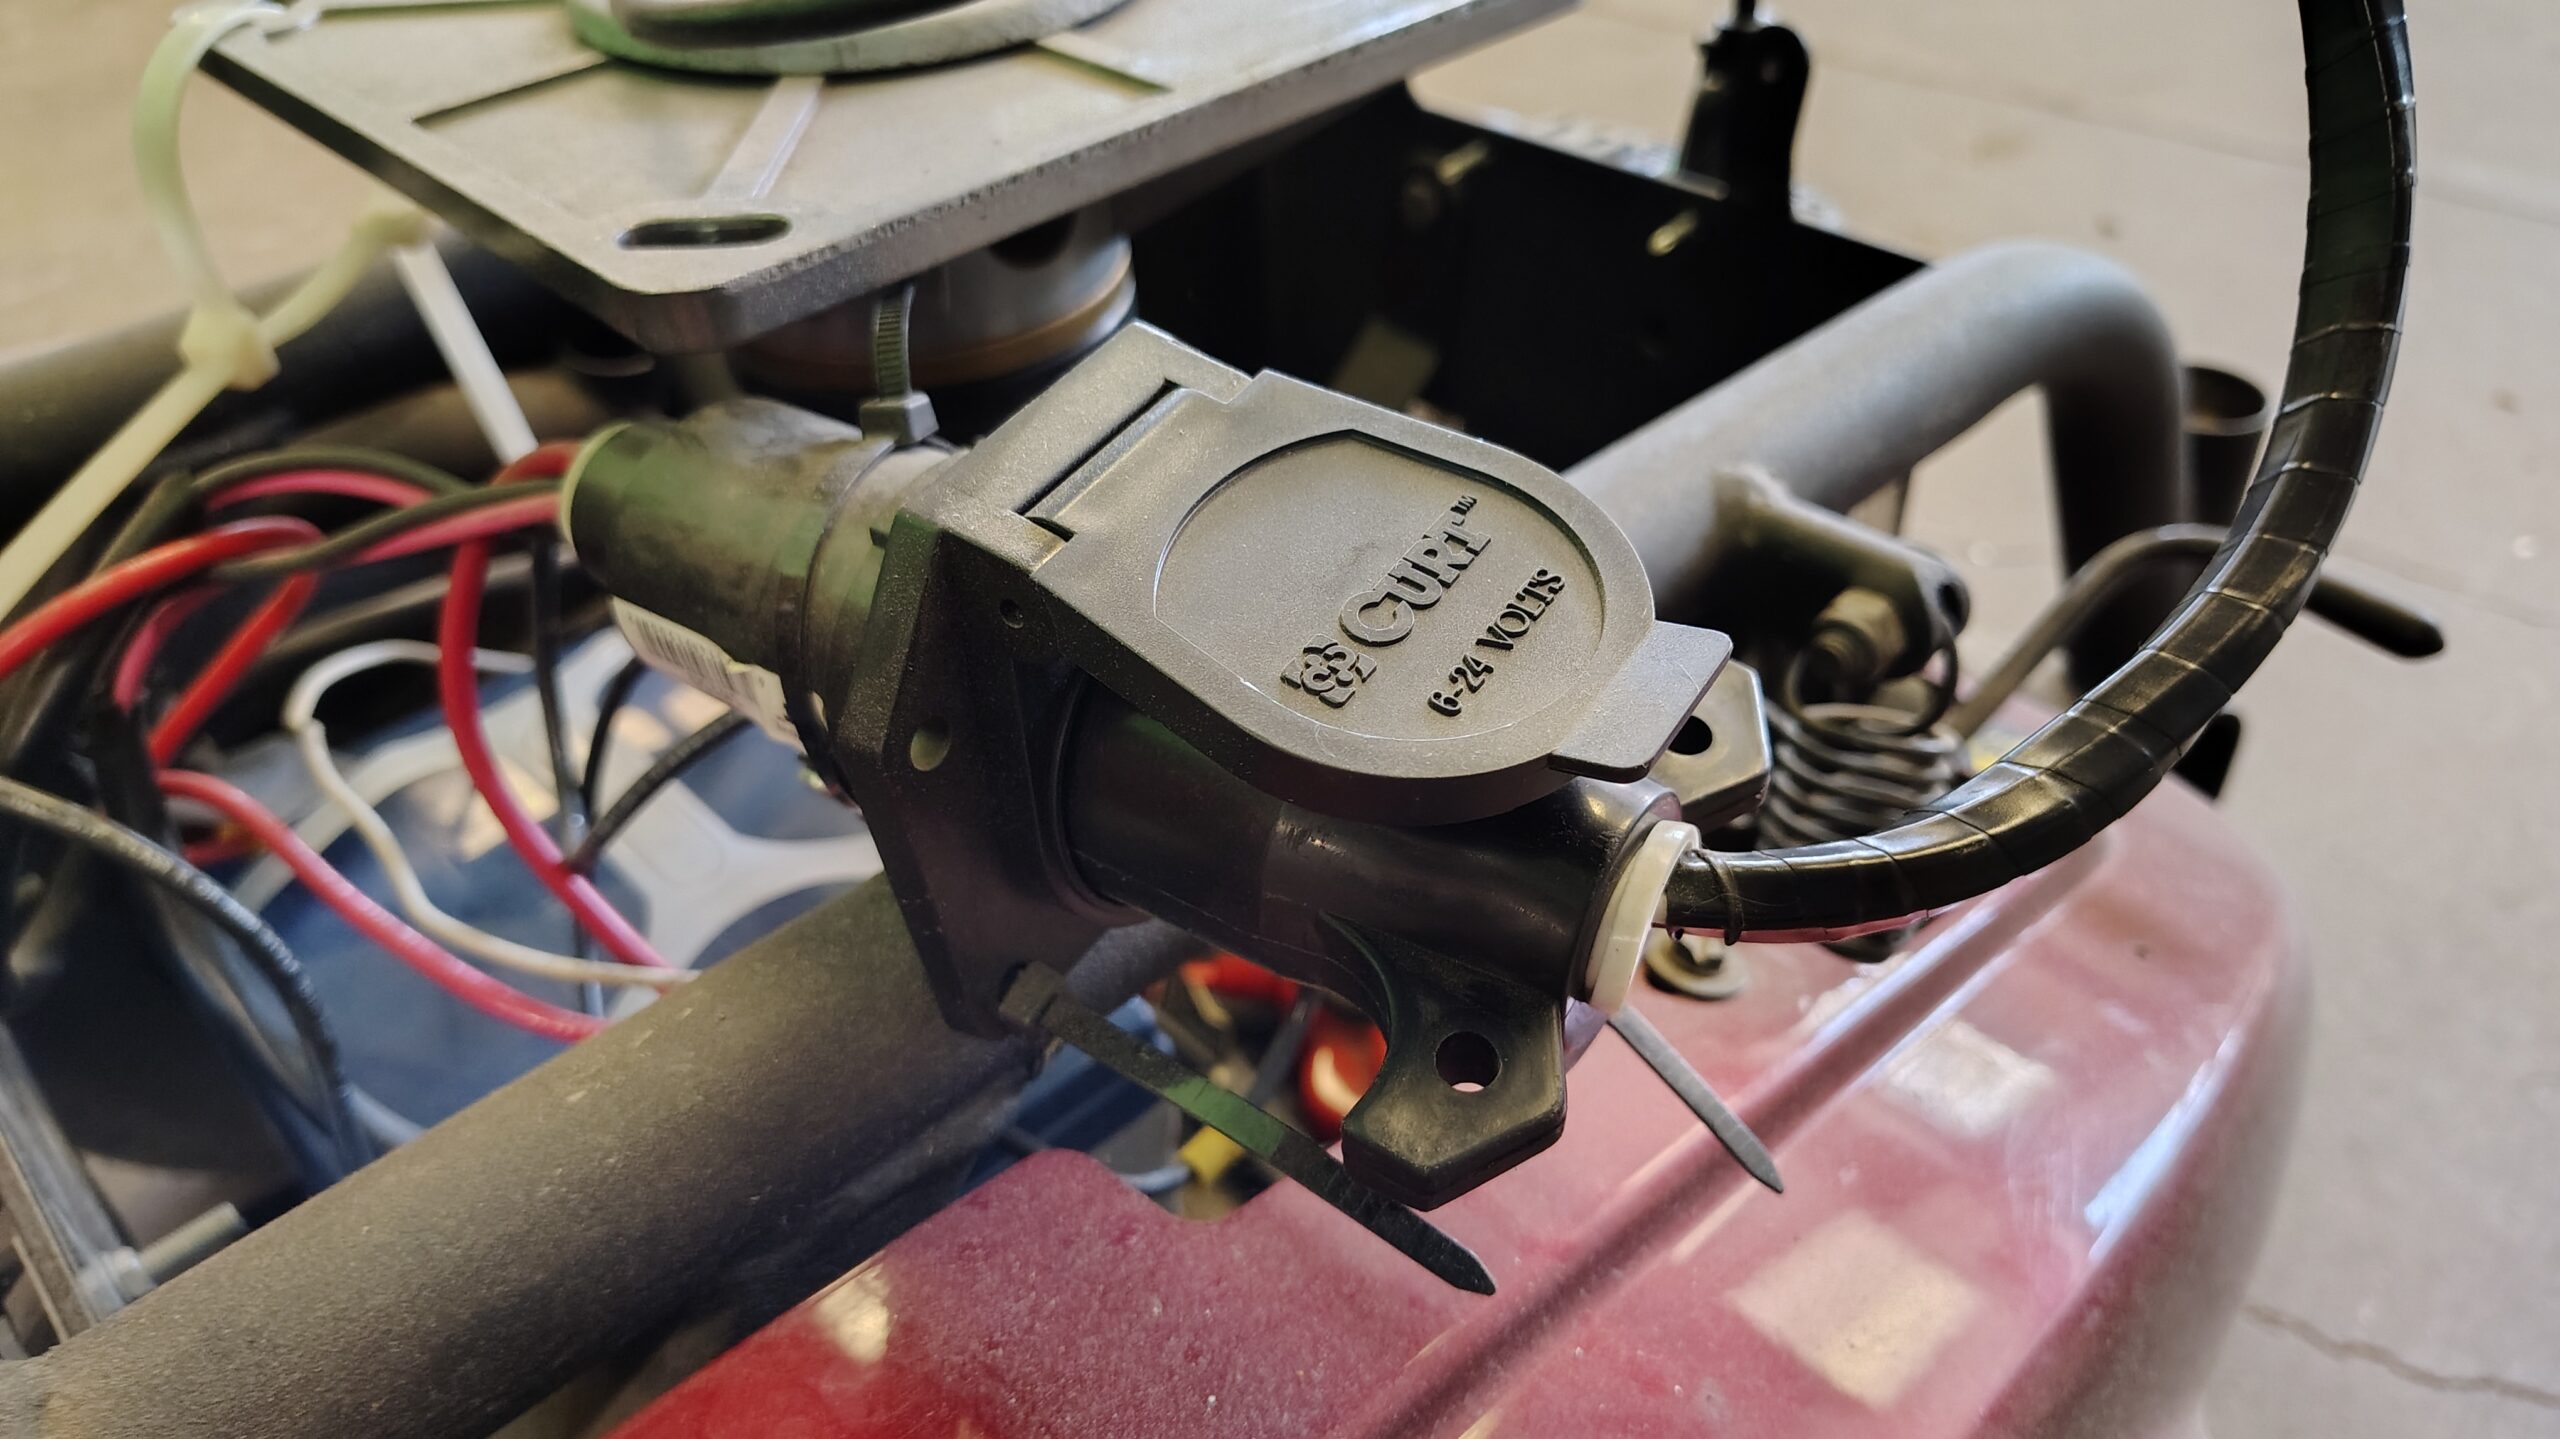
Main power connector